How To Do an At-Home Facial with Spa Results
Elevate your self-care routine with an at-home facial with spa-worthy results.
An at-home facial isn’t just a chance to treat yourself to some much-needed self-care after a long day, it’s a great way to rejuvenate your skin and give it a healthy glow without having to leave the comfort of your home. Not only can a facial help you feel relaxed and refreshed, but the glowing rewards will be visible almost immediately.
A facial can do wonders for both restoring the health of your skin and helping reduce fine lines and wrinkles. Face masks, exfoliation, and red light therapy are just a few of the secrets to radiant skin. Facials are also a great way to deep cleanse your pores and remove any impurities that may have built up over time.
Read on to indulge in some well-deserved pampering in ten easy steps – you (and your skin) deserve it.
– Deep cleanses the pores and skin
– Gives your skin a radiant glow
– Helps improve circulation and blood flow to the skin
– Helps to increase collagen production, which can help reduce the appearance of fine lines and wrinkles
In this article, we will cover how to give yourself a spa-level facial at home when you need to deeply revitalize and replenish the skin. The more complex facial includes extractions and utilizes a number of spa tools which will take about an hour to complete. Since utilizing the right products in your facial routine dramatically impacts results, we’ve curated our favorite products to help you get started. By shopping the links below, you help support our publication as we may receive a portion of sales on some items.
Before you get started with your facial, here is a quick list of everything you’ll need. If you’re ready to give yourself a DIY facial at home, but are overwhelmed by product options, you can shop these home facial kits.
What you’ll need for your facial:
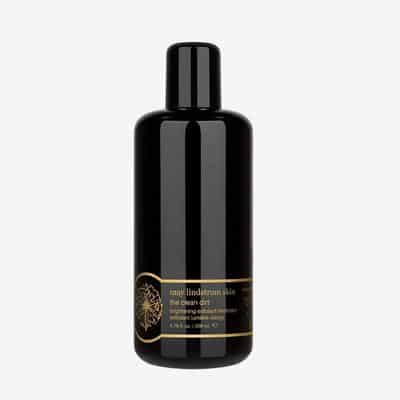
You will need a gentle cleanser that is suitable for your skin type and skin texture in order to cleanse your face without stripping it of its natural oils.
Exfoliating your skin is an important step in any facial, as it helps to remove dead skin and reveal new, healthy skin underneath.
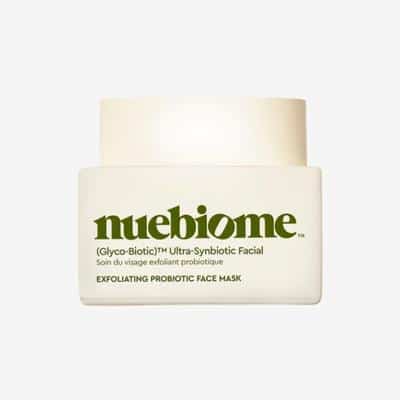
Face Masks are great for giving your skin a boost of hydration or helping to target specific concerns such as acne or dullness.
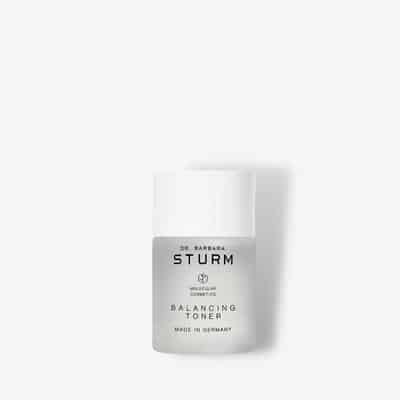
Toners help to balance the pH of your skin and prepare it for the next steps in your facial.
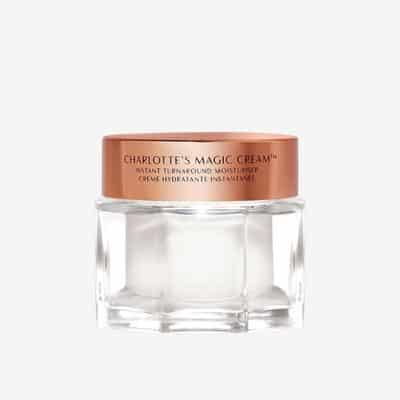
Moisturizing is an important step in any skincare routine, but it is especially important after a facial as your skin may be more susceptible to dryness.
Additional items needed for a more comprehensive facial:
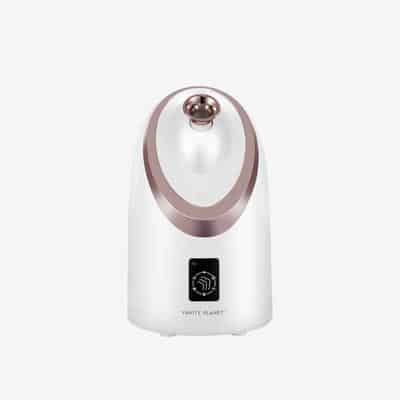
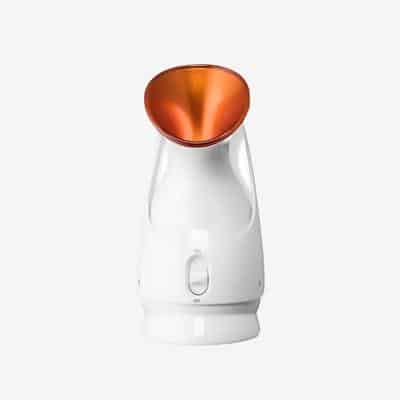
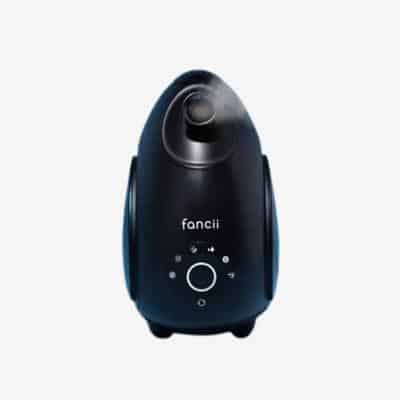
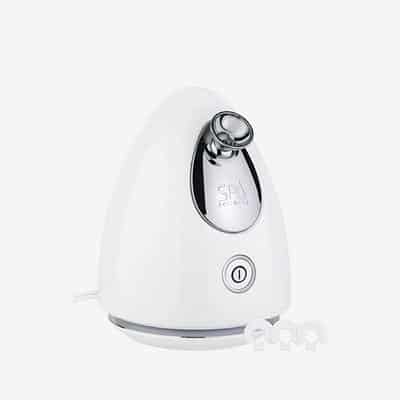
A face steamer is a great tool to use in your skincare routine as it helps to open up the pores and allow the other products to better penetrate the skin. If you do not have a face steamer, you can also use a hot towel or a bowl of hot water to achieve the same effect.
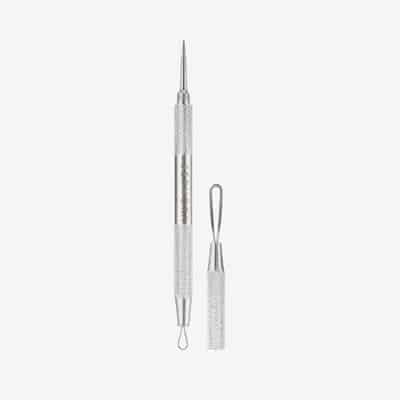
For a more comprehensive facial, a blackhead extraction tool can be a great addition to your arsenal of tools. Blackheads are a common skin concern, and extracting them can help to keep your pores clear and free from congestion.
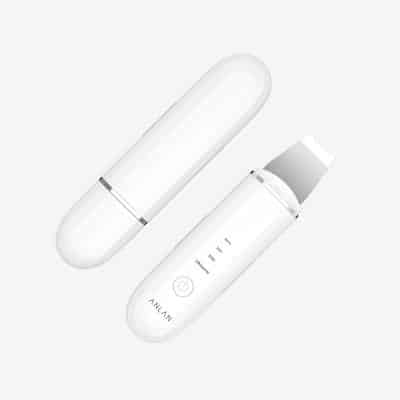
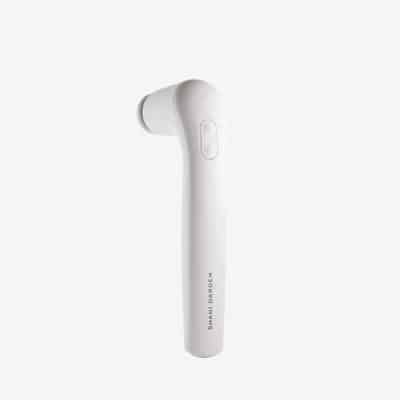
An ultrasonic face scraper can be a great tool to use in your skincare routine. It helps to remove any dead skin cells or impurities that may have built up on the surface of the skin.
GUA SHA, JADE ROLLER, OR FACE MASSAGER
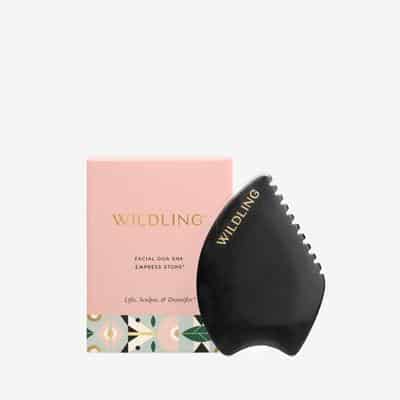
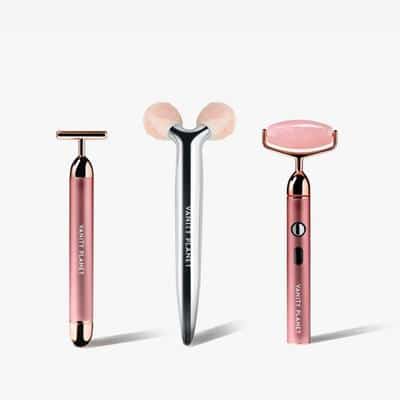
A gua sha tool is a Chinese medicine instrument that is used to give yourself a facial massage that helps improve circulation and blood flow to the skin. It can also be used to help reduce the appearance of fine lines and wrinkles. A jade roller is a type of gua sha tool that is made from jade stone that has cooling and calming effects on the skin. A face massager can also be used to help improve circulation and blood flow to the skin while lifting the face. Any of these tools will help massage the face.
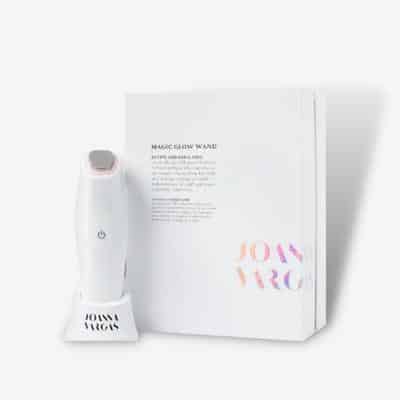
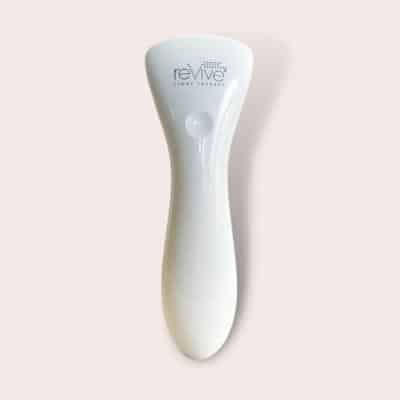
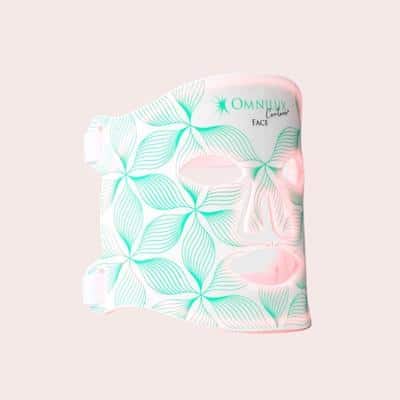
A red light therapy face device is a great tool to revitalize skin in your daily routine. It helps to reduce the appearance of blemishes and acne, and it also has anti-aging effects for more glowing skin.
Now that you have everything you need, follow these steps to revitalize your skin care routine and give yourself a relaxing professional facial at home.
How to Do an At-Home Facial
Below are the key steps for giving yourself a professional facial in your own home to address your specific skin concerns. If you are pressed for time, you can follow the steps highlighted in green. If you are ready to indulge in a full facial and wish to achieve optimal results, be sure to follow all steps below in your facial routine.
Step 1
Cleanse your face with a gentle face cleanser.
When starting your facial, it’s important to start with clean skin. Make sure to remove all of your makeup, and if you typically wear a full face of makeup, you may want to consider double cleansing your face to make sure that all makeup and face products are fully removed as well as remove any excess oil.
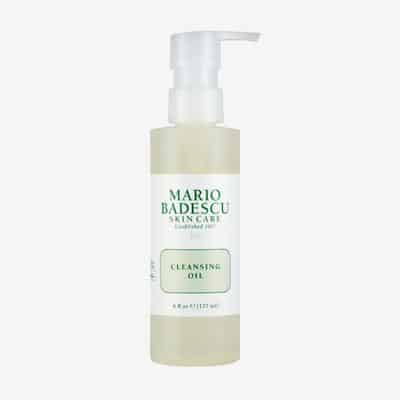
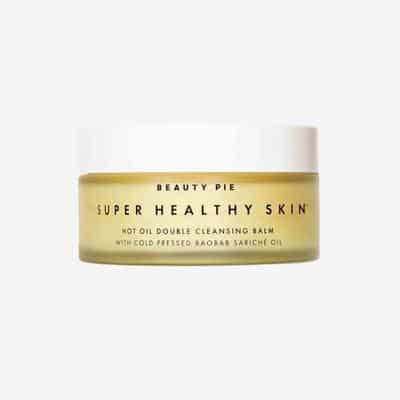
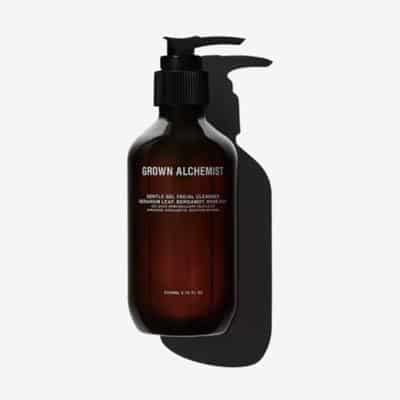
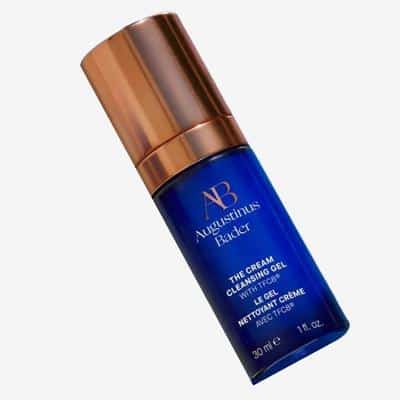
An oil-based facial cleanser is an excellent choice for those with dry skin or who are simply looking to provide their skin with much-needed nourishment. Oil-based cleansers are especially beneficial as they are able to penetrate deep into the pores to help remove makeup, dirt, and debris. Oil-based cleansers also help lift excess sebum, clean clogged pores of blackheads, and help moisturize. Gel and Cream cleansers are also gentle on the skin and do not strip your skin of its natural oils. If you have oily skin or simply plan to double cleanse your face, the Mario Badescu Cleansing Oil and the Gentle Foam Cleanser make the perfect cleansing duo.
Step 2
Exfoliate the skin.
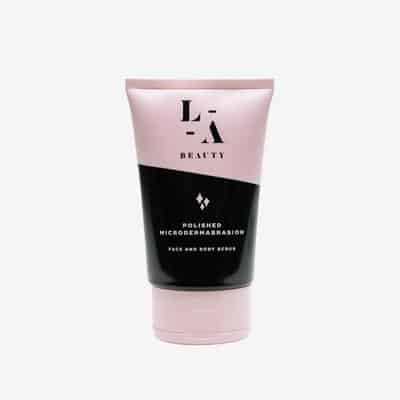
Exfoliating your skin is an important step in any facial, as it helps to remove dead skin cells and reveal new, healthy skin underneath. There are a number of different ways to exfoliate your skin, but here are two methods that are easy and can be done at home.
The first way is to use a face scrub. A face scrub is a physical exfoliant that uses small beads or granules to slough away dead skin and helps even out your skin tone. Simply wet your face and massage the scrub onto your skin in circular motions. Rinse with warm water and pat dry.
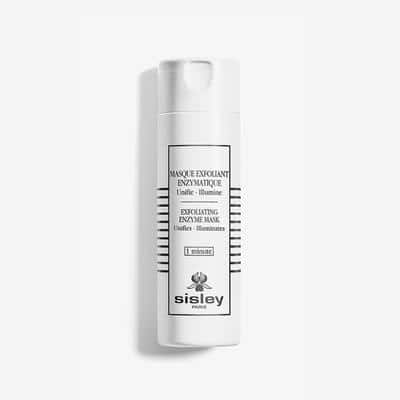
The second way to exfoliate your skin is with an enzyme mask. An Enzyme mask is a gentle exfoliant that uses enzymes from fruit or vegetables to break down the bonds between dead skin cells, making them easy to remove. Simply apply the exfoliating mask to your face and leave it on for 5-10 minutes before rinsing off with warm water.
Step 3
Steam your face.
A face steamer is a device that emits steam to help open your pores and remove dirt, oil, and makeup from the skin. A face steamer can also be especially beneficial for dry skin.
To use a face steamer, first, make sure that the area around you is clean. Fill the steamer with distilled water and turn it on. Hold your face about 12 inches away from the steamer and let the steam hit your face for 5-15 minutes. To make your face steaming a more spa-like experience add essential oils like lavender or eucalyptus.
If you do not have a face steamer, you can also create your own steam facial at home. To do this, fill a bowl with hot water and place a towel over your head to trap the steam. Lean over the bowl for 5-10 minutes and let the steam immerse your face.
Step 4
Extract blackheads.
Once your pores are open, it is time to extract any blackheads or whiteheads from the skin. To do this, you will need a comedone extractor, which is a small, metal tool that has a loop on one end.
To use the extractor, gently press the loop against the blackhead or whitehead and apply pressure. The pressure will help to pop the blackhead or whitehead out of the pore. Once the blackhead or whitehead is out, use the other end of the extractor to remove any remaining dirt or oil from the pore.
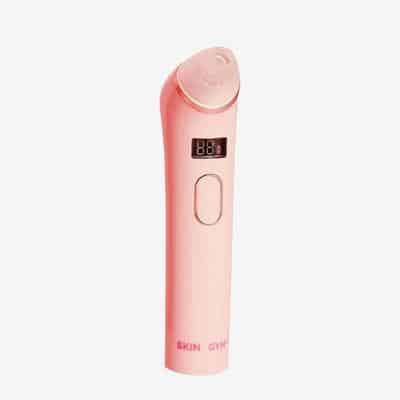
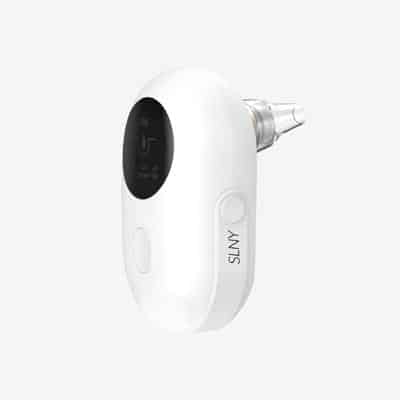
After extracting blackheads you can also use an ultrasonic face scraper to remove any remaining buildup. A face scraper is a small tool with a metal scraper that vibrates. Gently glide the scraper over your skin to remove any final excess build-up or blackheads. If you have limited or no experience extracting blackheads, consider a more advanced extractor tool that requires less skill like the Skin Gym Porie Pro Blackhead Tool.
Step 5
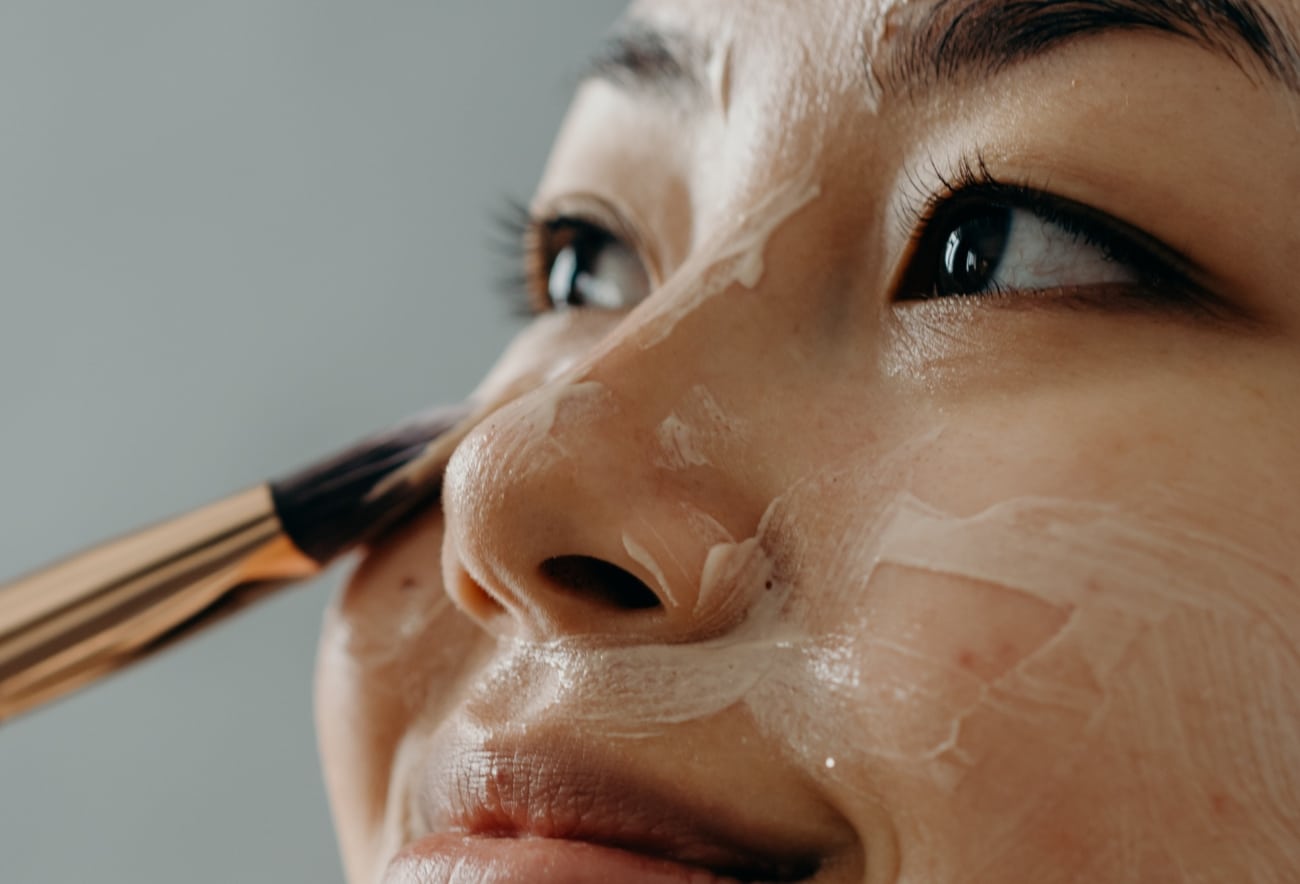
Apply a face mask.
After you have exfoliated your skin and/or removed any blackheads, it is time to apply a face mask. There are a number of different types of masks, but all serve the same purpose: to nourish and revitalize the skin. Whether you have dry skin, oily skin, or sensitive skin, there’s a facial mask for every skin type.
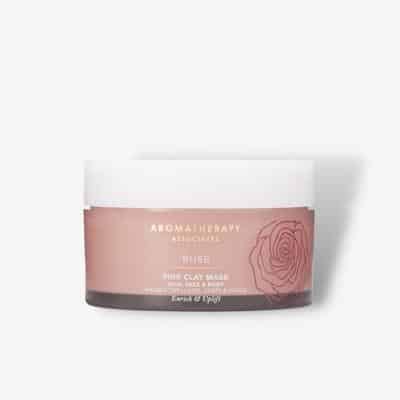
Clay masks are one of the most popular types of masks, as they help to draw out impurities and detoxify the skin. If you have oily skin or acne-prone skin, a clay mask is a great option for you since it will help remove any excess oil.
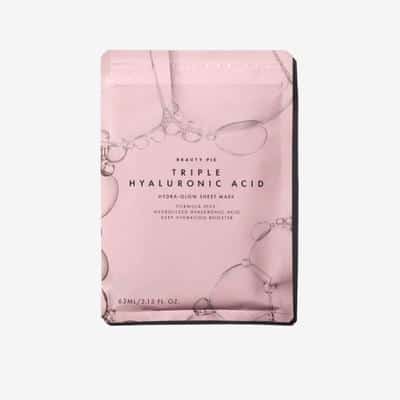
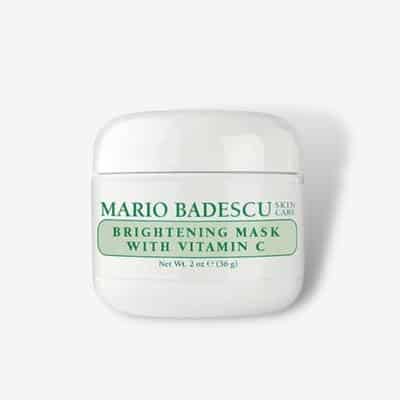
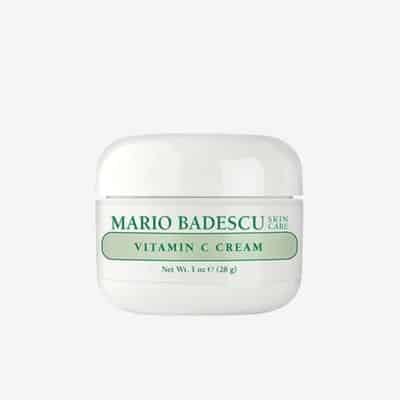
Another popular type of facial mask is a sheet mask. Sheet masks are made from a variety of materials, but all are soaked in a serum or essence that is packed with nutrients and antioxidants. Sheet masks are a great way to hydrate and nourish the skin. If you wish to boost your skin’s radiance, consider a face mask with Vitamin C that has brightening and antioxidant properties. Whether you have oily skin, dry skin, or acne-prone skin, it’s important to make sure you are using the right mask for your skin type.
Once you have applied your face mask, relax for 10-15 minutes while the mask does its work. When the time is up, remove the mask and gently massage any remaining essence into your skin.
Step 6
Give yourself a facial massage.
Using a gua sha tool, jade roller, or face massager, apply a light serum or utilize the remaining product from the facial mask and begin to massage your face by gliding the gua sha tool or jade roller over the skin in an upward motion. Gua sha tools and face massagers are great for lymphatic drainage and a face massager that utilizes vibration is a great way to massage and lift the face. Try to give yourself a facial massage for at least 5-10 minutes.
Step 7
Apply a light therapy mask or device.
To give your skin some extra TLC, you may want to use light therapy. Light therapy uses LED lights to help improve the appearance of the skin’s texture, no matter your skin type. Red light therapy in particular is said to reduce inflammation and increase collagen production which ultimately reduces fine lines and wrinkles. Leave the light therapy mask on for the recommended amount of time (usually 10-15 minutes) or use your red light therapy device to treat each area of the face for 2-3 minutes.
Step 8
Apply face toner.
Toner is an important part of any skincare routine no matter your skin type, as it helps to remove any remaining dirt or makeup and it also helps to restore the pH balance of the skin. This is a crucial step in helping to maintain an even skin tone.
Step 9
Apply a serum, face oil, or moisturizer.
The final step in your facial is to apply a serum, face oil, or moisturizer. Serums, face oils, and moisturizers are packed with nutrients and antioxidants that help to improve the appearance of the skin and lock in moisture. This is an especially important step if you tend to have dry skin.
To apply, simply dispense a few drops of the serum or moisturizer into your hands and massage it into your skin. If you are using a face oil, you can apply it before or after your moisturizer.
Voila! That’s it for your luxurious facial. Remember to follow this full routine at least a few times a month for the best results.
Step 10
Relax! Create a relaxing atmosphere and unwind with a self-care activity like reading, meditation, or journaling to help nourish the mind.

